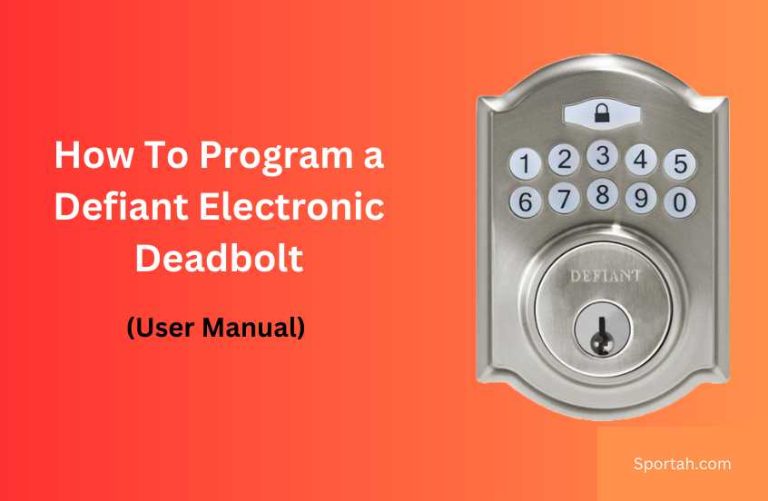
Honeywell Digital Deadbolt Manual: Programming Instructions
Honeywell digital deadbolts provide a secure and convenient way to access your home. These electronic locks allow you to set custom entry codes, eliminating the need for physical keys. This article will guide you through the programming instructions for your Honeywell digital deadbolt to help you unlock its full potential.
Initial Setup
Before getting started with programming, ensure that you have installed the Honeywell digital deadbolt correctly on your door. Refer to the installation manual that came with your deadbolt for proper installation instructions.
Factory Reset
In case you need to restore your Honeywell digital deadbolt to its factory settings, follow these steps:
- Remove the battery cover and take out the batteries.
- Press and hold the reset button (usually a small button inside the battery compartment).
- While holding the reset button, reinsert the batteries.
- Continue holding the reset button for a few more seconds, then release it.
- The lock will beep, indicating that it has been reset to factory settings.
Programming Instructions
Set the Master Code
The master code is a 4–8-digit code that grants you full control over the lock’s programming. To set or change the master code, follow these steps:
- Ensure the door is open.
- Enter the default master code (usually 1234) followed by the lock button.
- Press the ‘Program’ button once, then enter your new master code followed by the lock button.
Add User Codes
User codes are additional 4–8-digit codes that you can share with family members or guests for temporary access. To add a user code, follow these steps:
- Enter the master code followed by the lock button.
- Press the ‘Program’ button twice, then enter a unique user code followed by the lock button.
- The lock will beep, indicating that the user code has been added successfully.
Delete User Codes
To delete a user code, follow these steps:
- Enter the master code followed by the lock button.
- Press the ‘Program’ button three times, then enter the user code you want to delete followed by the lock button.
- The lock will beep, indicating that the user code has been deleted successfully.
Enable or Disable Auto-Lock
Auto-lock is a feature that automatically locks the deadbolt after a set period of time. To enable or disable auto-lock, follow these steps:
- Enter the master code followed by the lock button.
- Press the ‘Program’ button four times.
- Press the ‘1’ key to enable auto-lock or the ‘2’ key to disable it.
- Press the lock button to confirm your selection.
Set Auto-Lock Time Interval
To set the time interval for the auto-lock feature, follow these steps:
- Enter the master code followed by the lock button.
- Press the ‘Program’ button five times.
- Enter a two-digit number (05 to 99) representing the desired auto-lock time interval in seconds.
- Press the lock button to confirm your selection.
Enable or Disable One-Time Access Code
A one-time access code is a temporary code that can only be used once. To enable or disable this feature, follow these steps:
- Enter the master code followed by the lock button.
- Press the ‘Program’ button six times.
- Press the ‘1’ key to enable one-time access code or the ‘2’ key to disable it.
- Press the lock button to confirm your selection.
By following these programming instructions, you can customize your Honeywell digital deadbolt to best suit your needs. Ensure that you keep your master code confidential and change user codes regularly to maintain the security of your home.
